Joomla Online Customer Service Plugin Deployment: Installing the Extension, Linking Accounts, and Mobile App Testing
The Joomla plugin connects the chat window to the LiveChat workspace. Installation, activation, and login binding are three distinct steps; after deployment, you should check that the window appears in the actual template you are using.
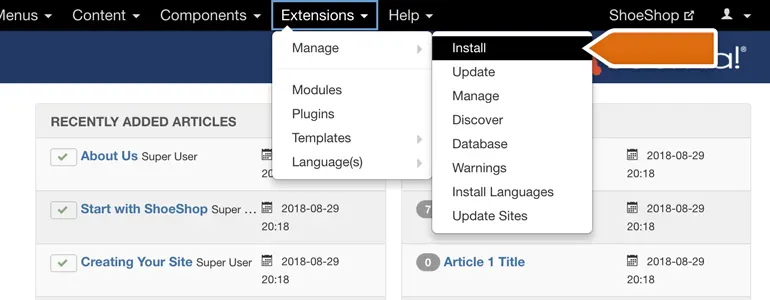
In the backend extension installation page, open the online extension directory, search for LiveChat, enter the extension details, and confirm the installation. The menu location may vary in different main versions; you can navigate to it by clicking on "Install Extensions," "Manage Extensions," or "Plugins."
In the extension management list, find LiveChat and enable it, then open the configuration in the plugin management. Click the account login entry, and on the pop-up login page, associate the LiveChat account responsible for this site. Currently, the backend login identity and the customer service platform identity are separate.
The plugin includes options such as hiding the mobile window and muting chat sound. Overseas sales teams that primarily interact with buyers via mobile should first ensure that the mobile entry point is not hidden. After saving and closing, initiate a conversation once using incognito browsing and once using another mobile phone.
Record the template, account ownership, and test results of the window. If the entry point is still visible after the extension is updated but no information is received, verify the target workspace using the actual buyer's identity to avoid only seeing the preview window in the administrator view.