Installing LiveChat in nopCommerce: Uploading the plugin, enabling window and shopping cart testing
Plugin installation and window activation for nopCommerce are located on different settings pages. First, confirm the corresponding major version of the plugin, and then complete the installation, account authorization, and page verification in sequence.
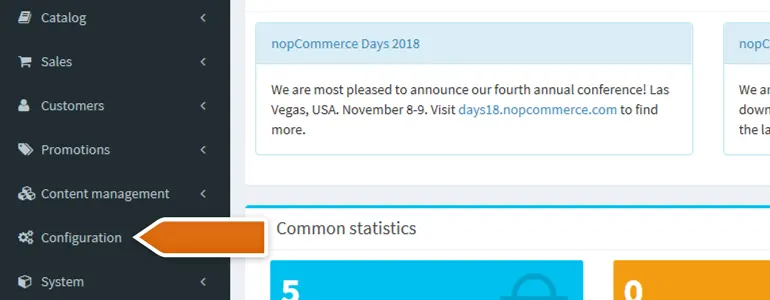
The official documentation provides download options for both nopCommerce 3.x and 4.x. Before selecting a package, verify your store's version and test it in a pre-release environment. The administrator should access the local plugin list in the configuration, upload the compressed package, find LiveChat in the list, and execute the installation.
Open the plugin configuration and log in with the correct LiveChat account. Then go to the window component management, find the corresponding LiveChat component, edit the line, and enable it. Simply installing the plugin into the system does not mean it is displayed to visitors.
Adjust the tracking frequency, mobile window visibility, and sound of shopping cart information according to the store's needs. Add two different items to the shopping cart using a guest account, initiate an inquiry, check the content displayed on the customer service interface, then modify the shopping cart quantity and review it again.
Finally, the mobile test entry point showed no obstruction to payment or navigation. Enabled components, plugin versions, and workspaces were recorded in the handover form for easy review after theme updates.